Workspace Management
Overview
A workspace in DevActivity represents an Organization or Personal profile with the DevActivity app installed. Each workspace is managed separately, allowing for distinct billing plans, teams/contributors, and settings. Understanding workspace management is crucial for effectively utilizing DevActivity's features and maximizing its benefits for your development workflow.
A new Workspace is created after the DevActivity app is installed and authorized to retrieve metadata from repositories.
Core Features and Functionalities
Adding a Workspace
Follow these steps to add a new workspace:
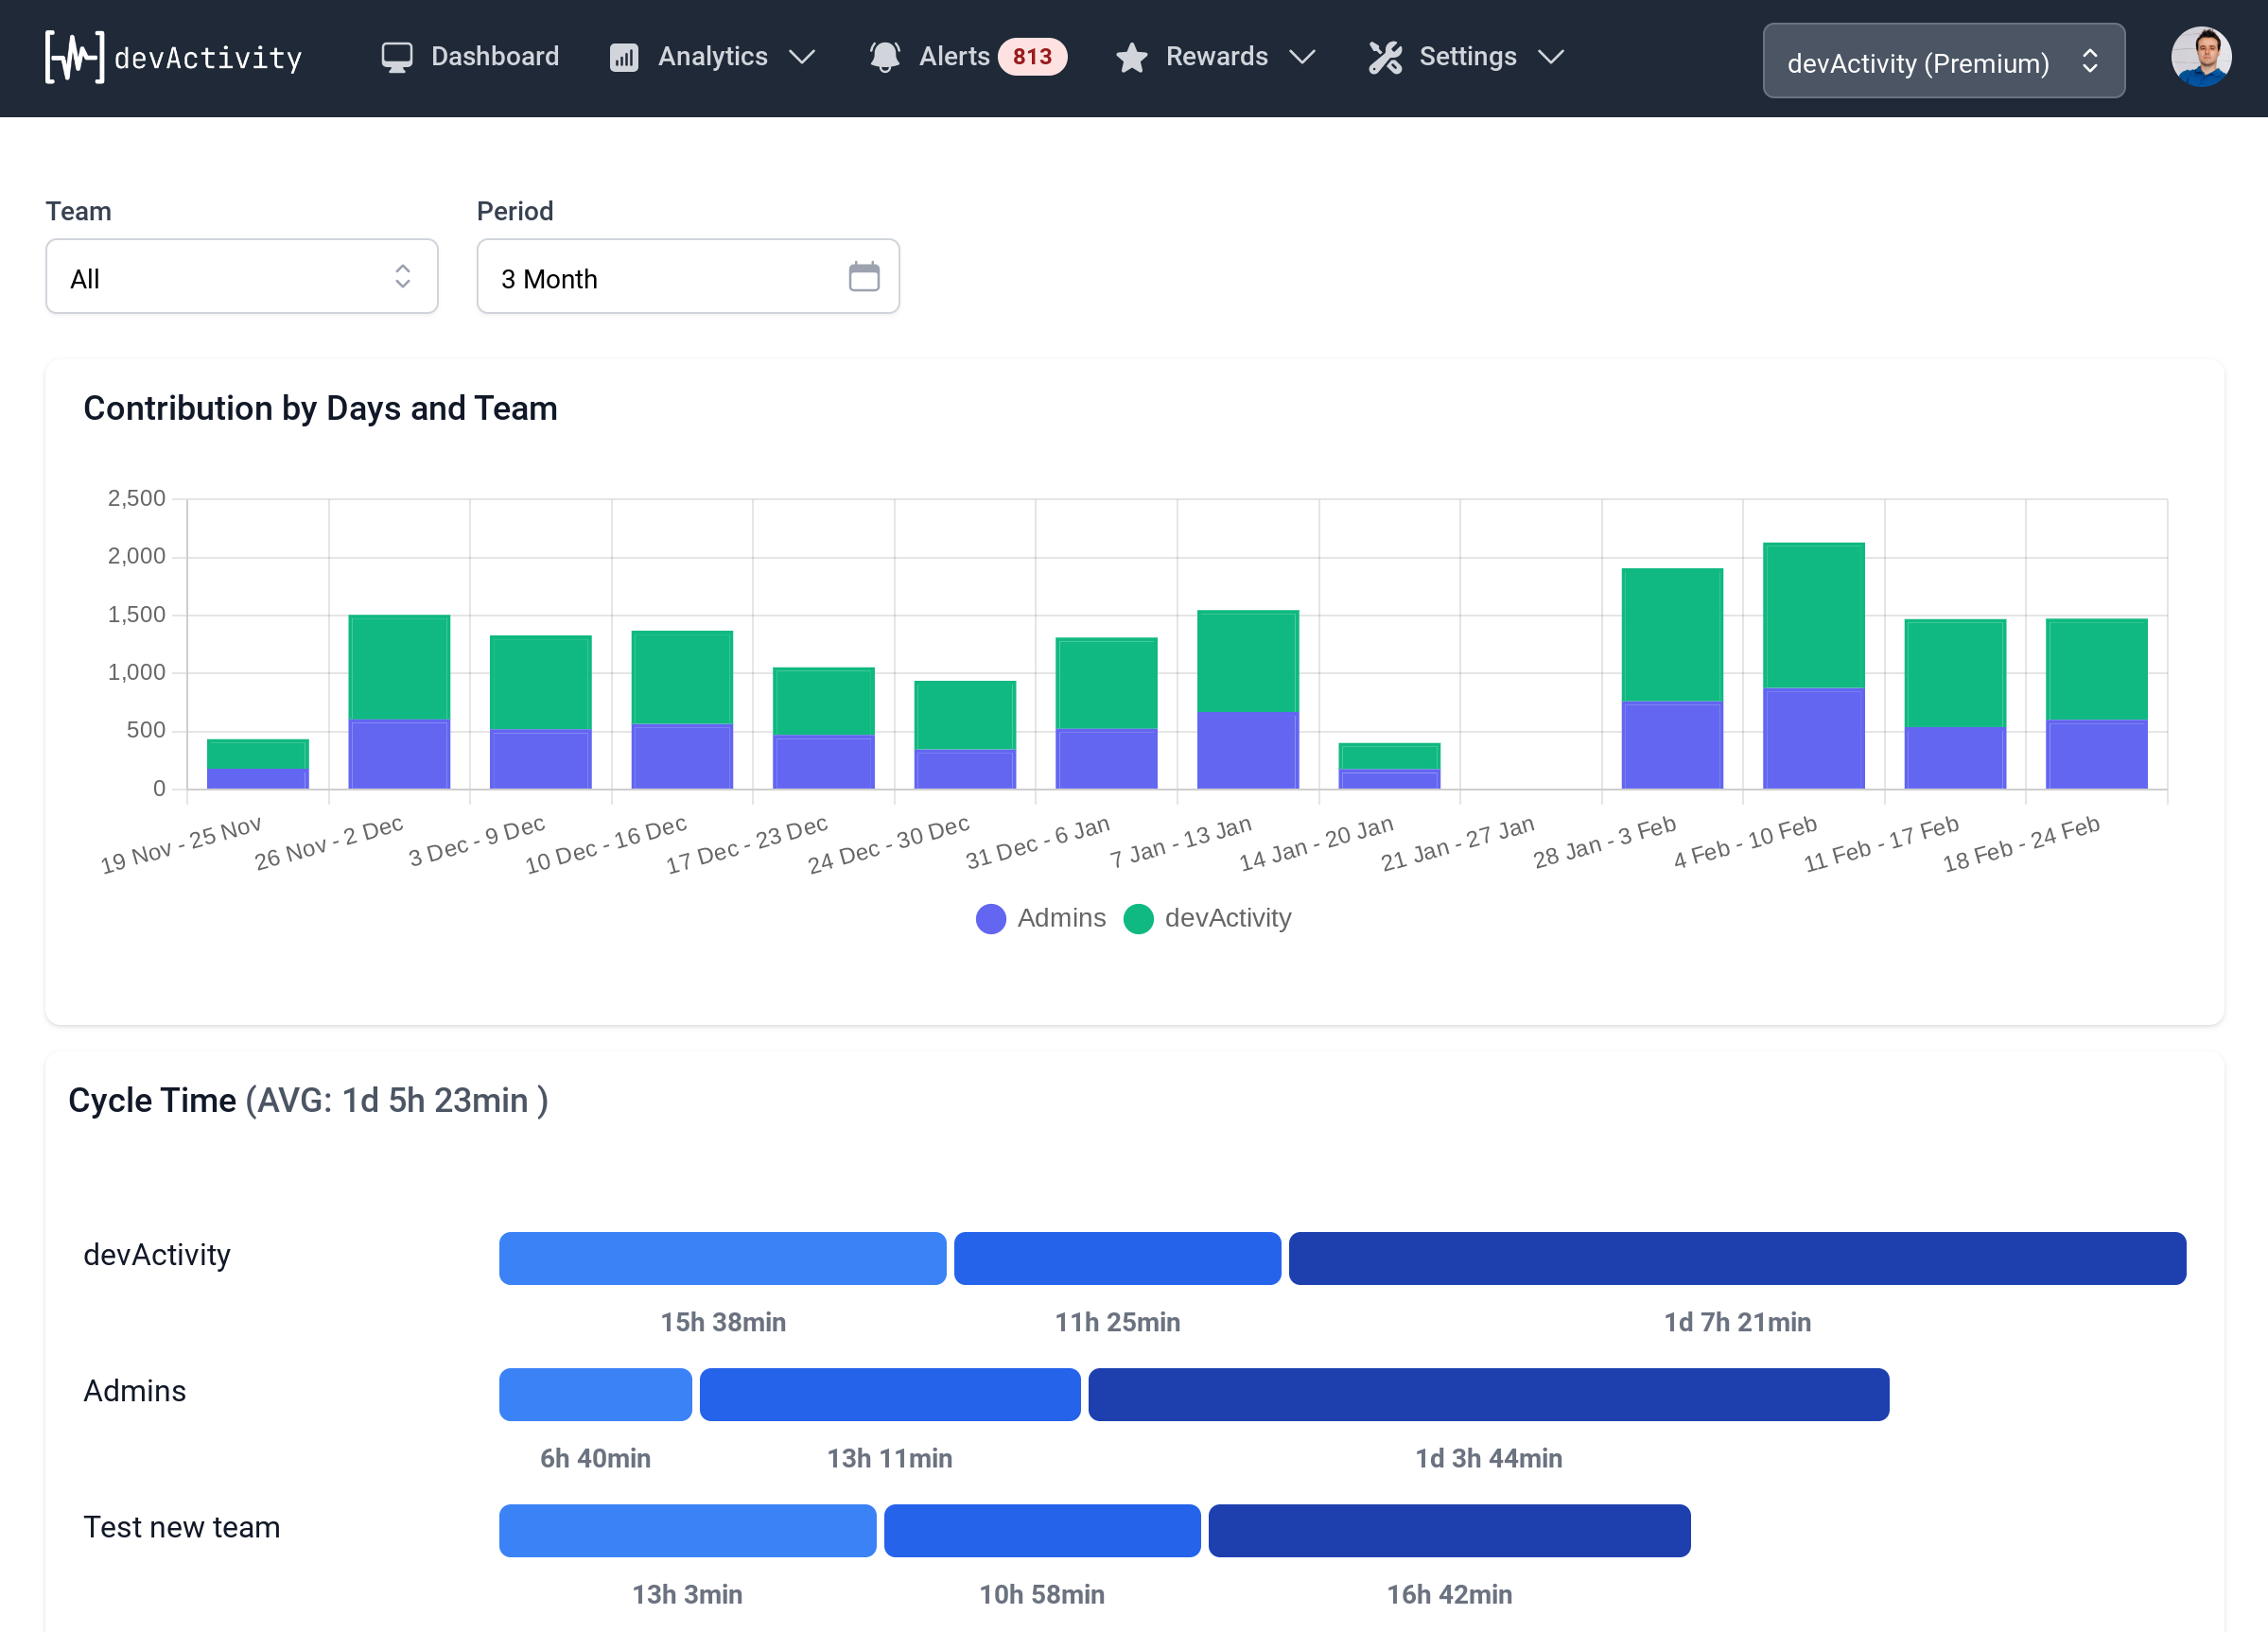
- Navigate to the 'Workspace' Dropdown: It's located in the top-right corner of your DevActivity dashboard.
- Locate the '+ Add' button: You will find the '+ Add' button at the top right, which opens a dropdown list of your available workspaces.
- Click on 'Add Workspace': Clicking this button will redirect you to GitHub to complete the setup.
Configure the Integration on GitHub's side
Once redirected to GitHub, complete the integration setup:
- Click the 'Configure' button: This button is on the DevActivity App page.
- Select the organization: Choose the organization where you want to install the app.
- Choose repository access: Select to install it for 'All repositories' or 'Only select repositories'.
- Grant necessary permissions: Ensure all required permissions are granted.
- Finalize Installation: Click 'Install & Authorize'. You will be redirected back to DevActivity.
Deleting a Workspace
To delete an existing workspace:
- Go to 'Settings': Click on the 'Settings' button in the top-right corner of your DevActivity dashboard.
- Select 'General': Click on the 'General' option from the settings menu.
- Delete Workspace:
- Scroll to the bottom of the 'General' settings page.
- Click on the red 'Delete' button.
- Confirm the deletion in the pop-up window.
Please note that all data, including levels progress and achievements, will be permanently deleted upon workspace deletion. This action is unrecoverable.
Best Practices and Use Cases
- Organize your development activity: Create separate workspaces for different projects to maintain a clear separation of data and analytics.
- Manage billing effectively: Utilize separate workspaces to manage billing for different teams or projects, allowing for more granular control over your DevActivity subscriptions.
- Optimize team collaboration: Create workspaces for individual teams, enabling them to track their specific progress and performance.
- Streamline open-source contributions: Create a workspace dedicated to your open-source projects to manage community engagement and track contributor activity.
By effectively managing your workspaces, you can leverage the full power of DevActivity to enhance your development workflow, track progress, and gain valuable insights into your team's performance.
Permissions for Workspace Management
Understanding the roles and their permissions is crucial for workspace management:
- Org Admin: Has full access to add and delete workspaces.
- Team Manager (for assigned team): No access to add or delete workspaces.
- Org Contributor: No access to add or delete workspaces.
- External Contributor: No access to add or delete workspaces.
Frequently asked questions
What is a DevActivity Workspace?
A DevActivity Workspace represents an Organization or Personal profile where the DevActivity app is installed. Each workspace is managed independently and can have its own billing plan, teams/contributors, and settings.
How do I add a new workspace to DevActivity?
To add a new workspace, navigate to the 'Workspace' dropdown in the top-right corner of your dashboard, click the '+ Add' button, and then select 'Add Workspace'. This will redirect you to GitHub to complete the setup process.
What steps are involved in configuring the GitHub integration for a new workspace?
After being redirected to GitHub, click the 'Configure' button on the DevActivity App page. Select the organization for installation, choose whether to install for 'All repositories' or 'Only select repositories', grant the necessary permissions, and then click 'Install & Authorize'. You will then be redirected back to DevActivity.
How do I delete a workspace in DevActivity?
To delete a workspace, go to 'Settings' from your DevActivity dashboard, select 'General', scroll to the bottom of the page, and click the red 'Delete' button. You will need to confirm the deletion in a pop-up window.
What happens when a workspace is deleted?
When a workspace is deleted, all associated data, including levels progress and achievements, will be permanently removed. This action is unrecoverable.
What permissions are required to add or delete a workspace?
Only an Organization Administrator (Org Admin) has the necessary permissions to add or delete a workspace. Team Managers, Org Contributors, and External Contributors do not have access to these functions.